Getting started with Google Ad Manager
Kodular has partnered with Google to provide a hight quality monetization integration. This is done thanks to Google Ad Manager, a Google's product that provides custom access to monetization tools. We have implemented their features into a set of components that will allow you to monetize your apps with Google Ad Manager advertising.
Registering for a Child Account
In order to start using Google Ad Manager, you have to apply for a child account to be part of Kodular's network.
Go to My Kodular, head to the Payments page, and make sure your account is eligible. Some of the reasons why your account may not be eligible are:
- You have no approved apps for monetization.
- You have way too many apps rejected for monetization.
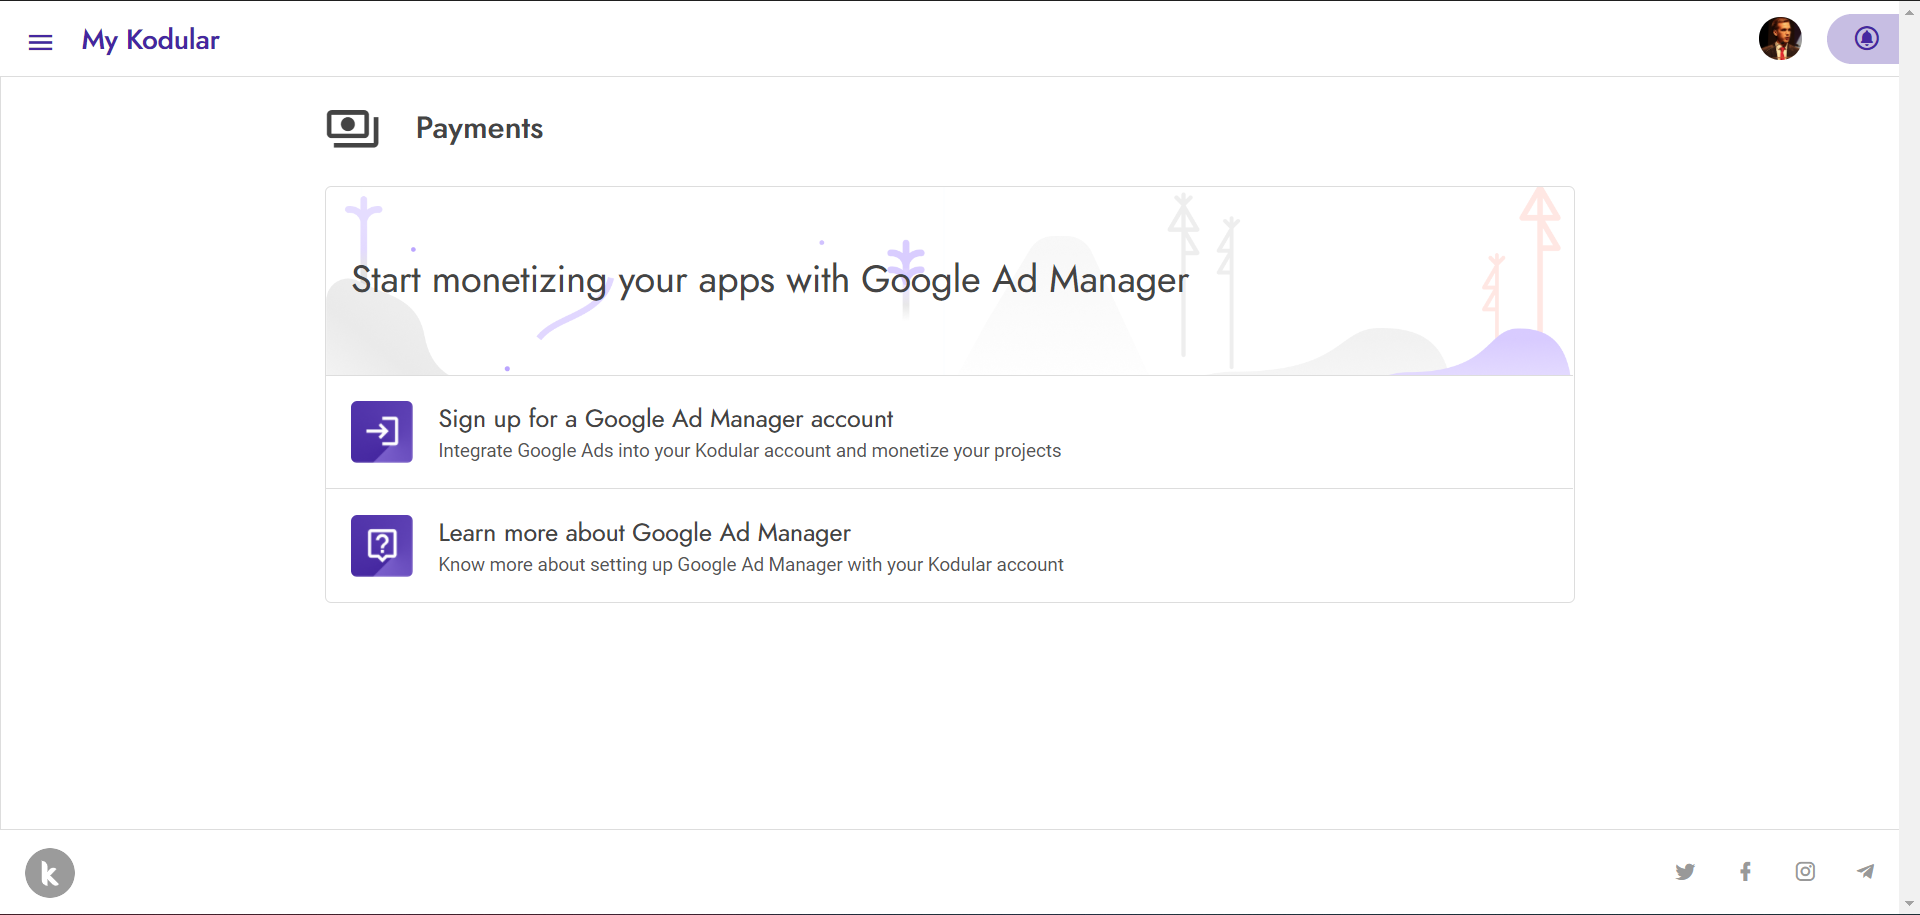
If your account is eligible, you may see a "Request Invite" button.
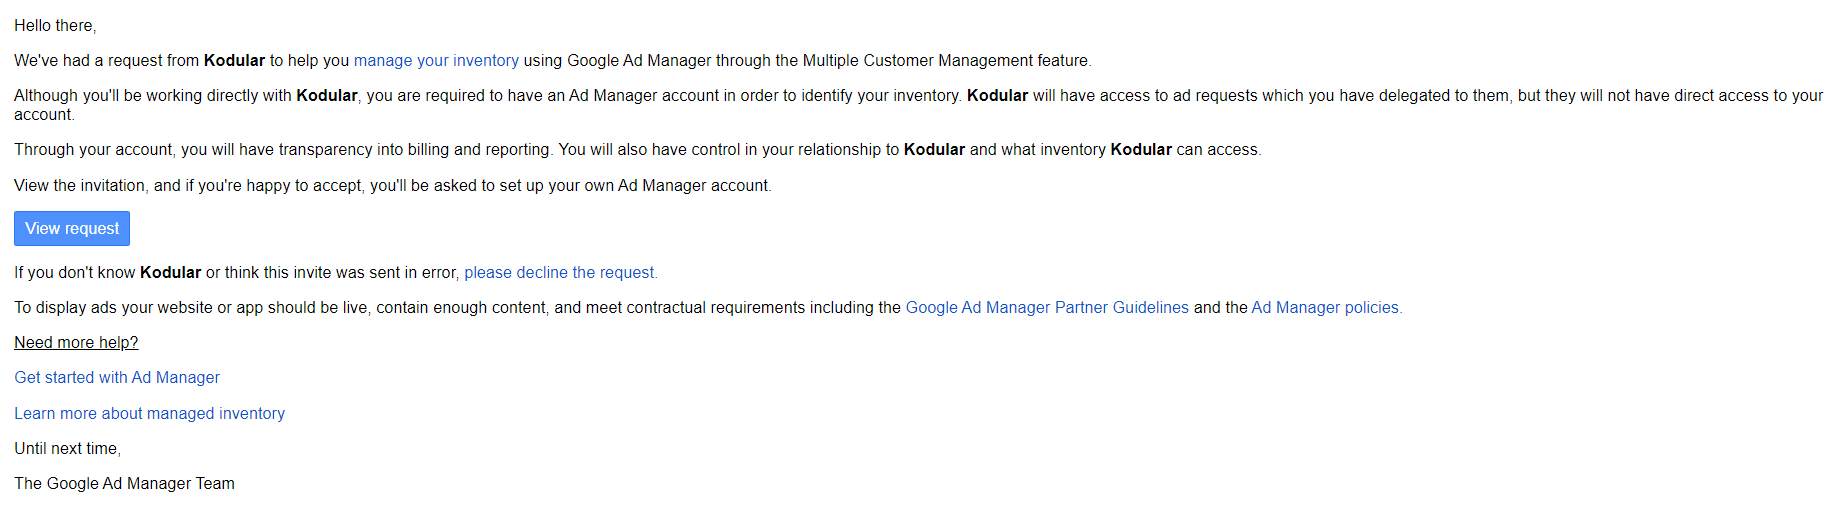
Follow the setup instructions to create the Google Ad Manager Child Account, and wait until it gets approved by Google. This process should take around 2 business days.
Warning
Make sure you no longer hold a Google Ad Manager account. If so, ask to create a new one.
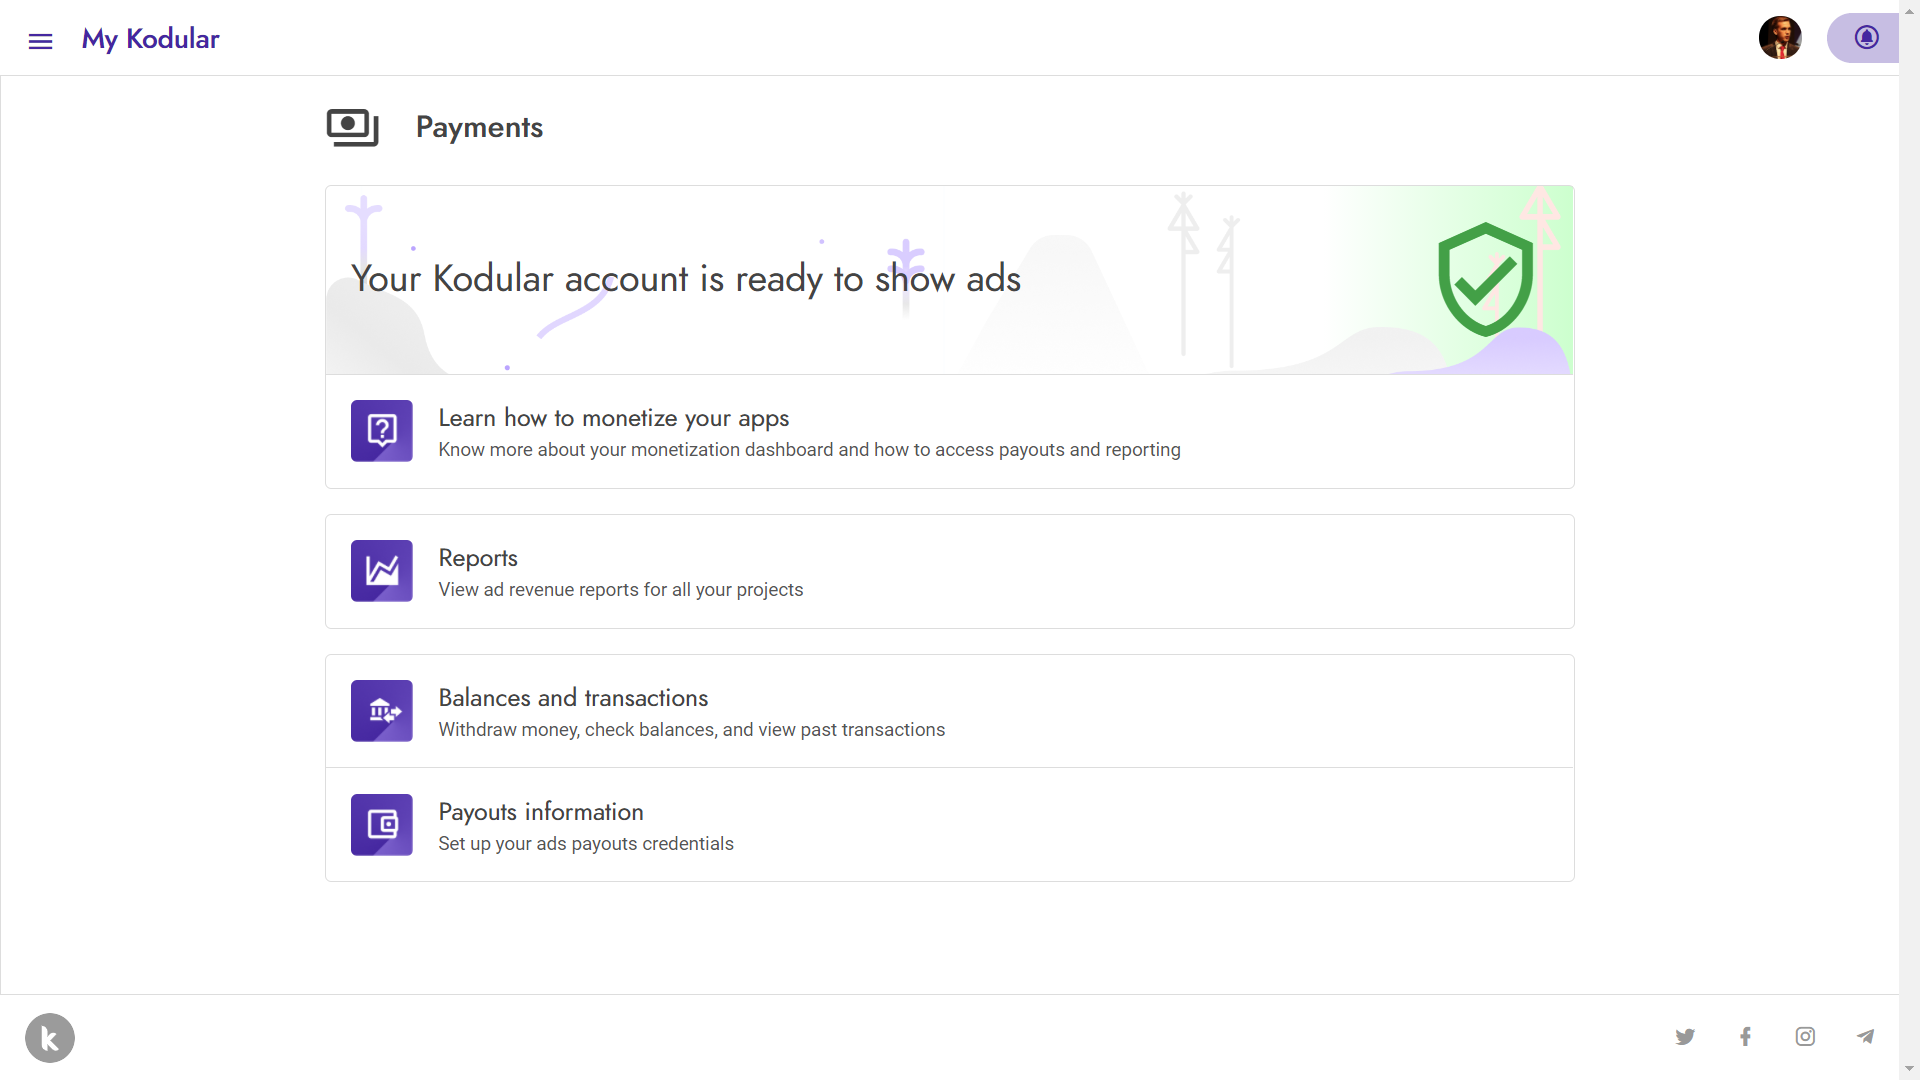
Once all the process has been completed, your account will be ready to show ads.
Registering your app in Google Ad Manager
The next step is applying for a Google Ads App ID. To do so, head to the Google Ad Manager console, and go to Inventory>Apps section.
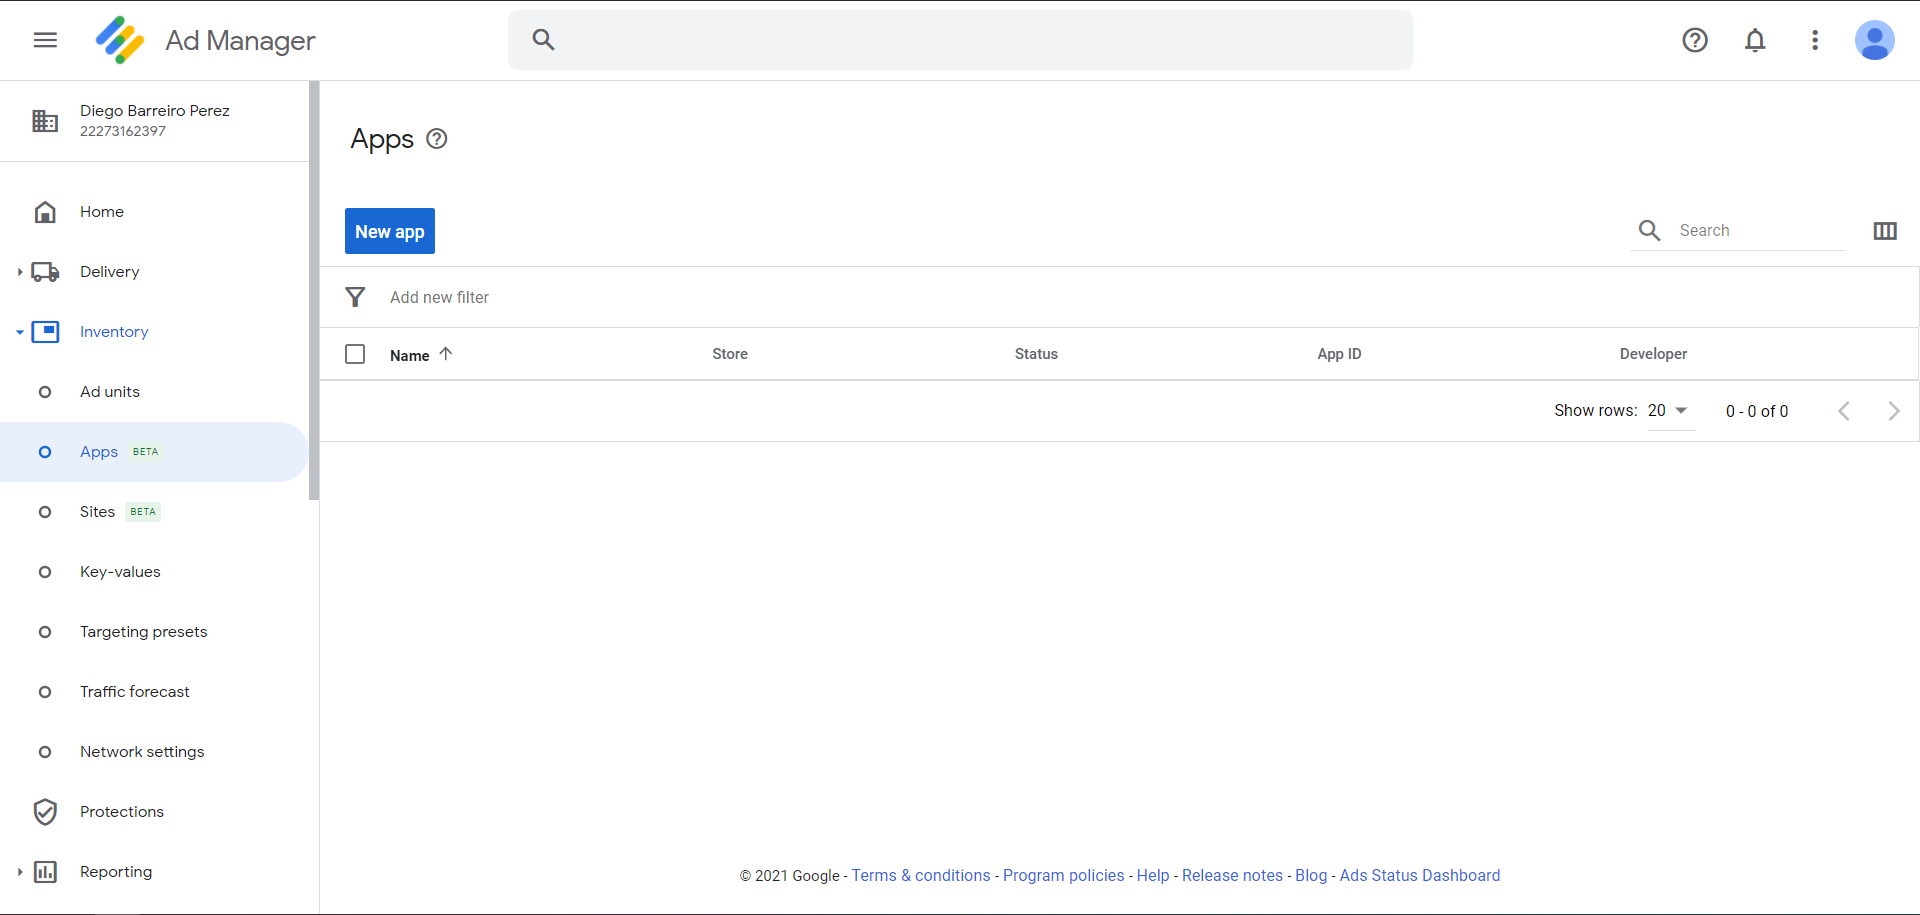
Click on "New App", input your desired app name and check Android as platform.
If your app is published in Google Play Store, just search for its name, and all data will automatically be linked.
If your app is not published in Google Play Store, check the alternative store and manually type the package name.
It is important that it matches the same one that you wrote in Kodular Creator.
Please note that we do require apps to be published in any of those app stores. If this is not your case, we
recommend publishing it in Amazon Appstore, which is free and it takes just 5 minutes to upload an app.
Once finished, copy the App ID field that appears in the list (it will start with ca-app-pub-). We will need it
for later.
Implementing ads in your app
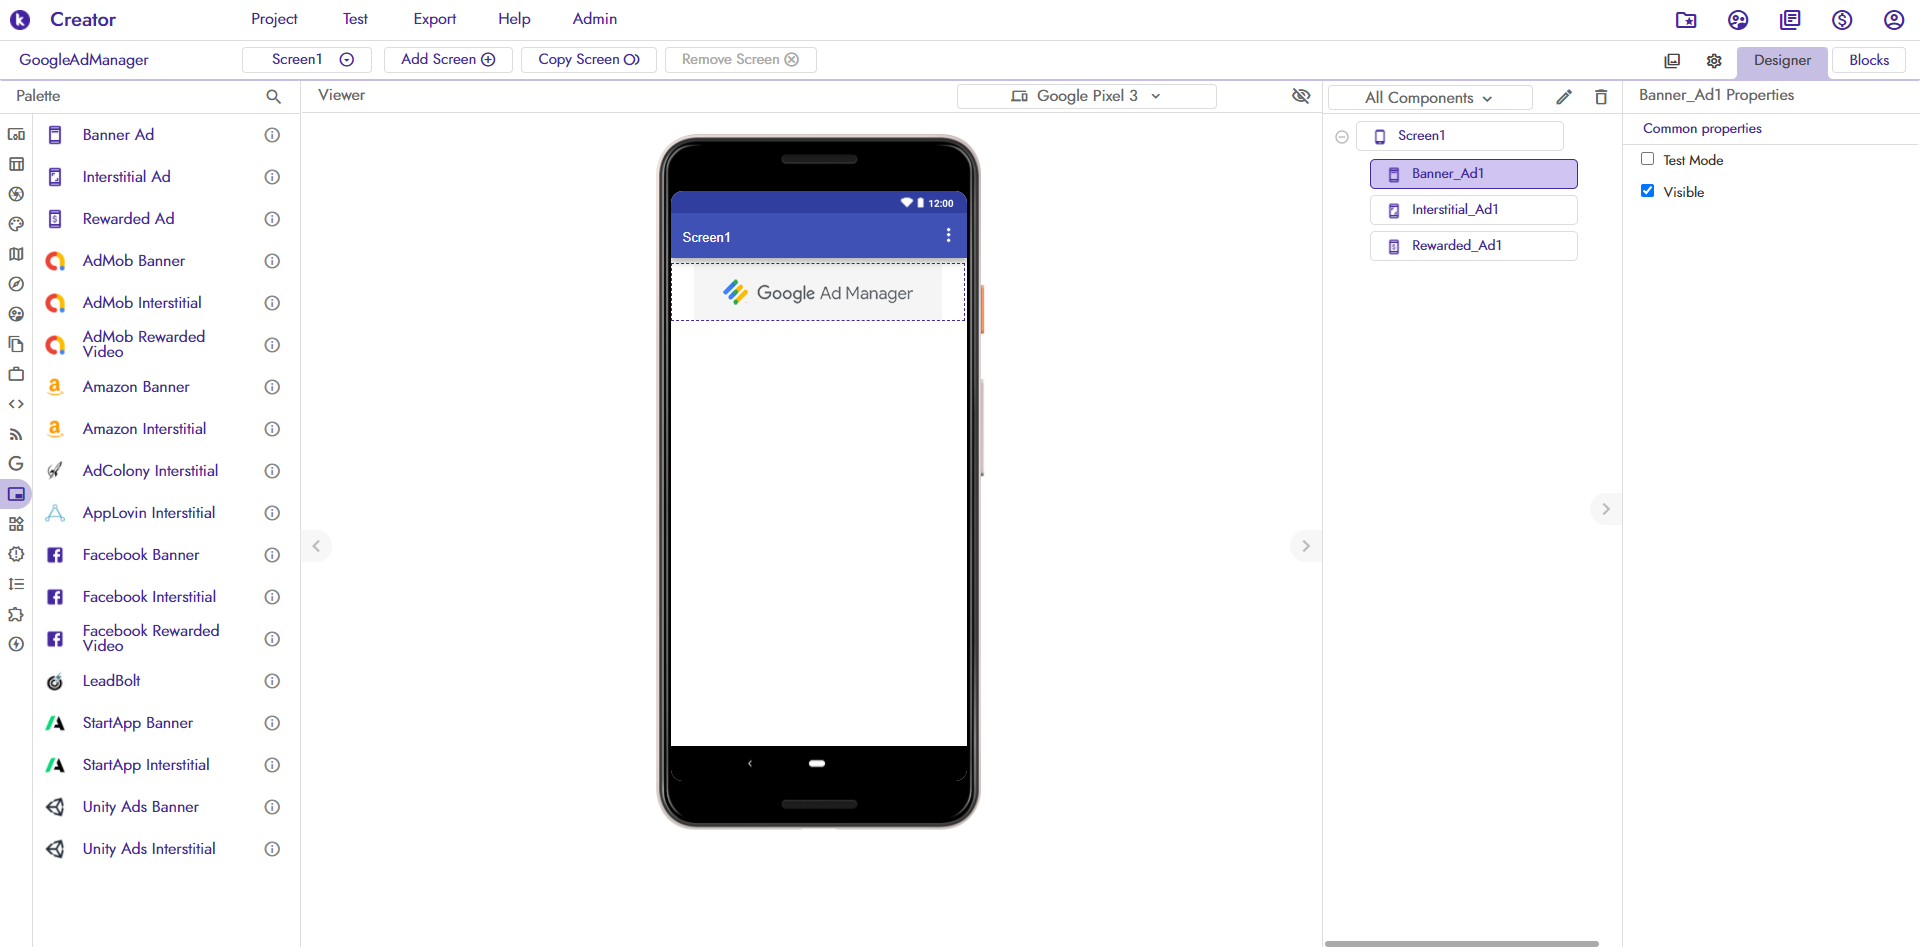
This step is the easiest one. Go to Kodular Creator, and open the Monetization>Advertising section. You will find right at the top 3 components: Kodular Banner, Kodular Interstitial and Kodular Rewarded. Those three components are the ones that will provide Google Ad Manager ads in your app.
Drag and drop them anywhere you want, and play with blocks to properly integrate them. No Ad Units are needed, as all the integration happens automatically.
Finally, open the App Settings modal with the gear button next to the Designer/Blocks ones. Go to the Monetization section, and input the previously copied App ID into the Google Ads App ID field.
app-ads.txt
For a better ad delivery, you should have deployed an app-ads.txt file. You must include our Google Publisher ID
in it.
Check this page to learn how to properly implement it.
Exporting your app
Your app is now ready! Just click the Export button and publish it anywhere.